Pages

Tuesday, March 11, 2014

Charlotte's Web Machine Embroidery Applique

I am reading Charlotte's Web by E. B. White with one of my guided reading groups at school and it inspired me to make this.


Wednesday, March 5, 2014

A Free Motion Embroidery Teapot and cup

Today it is a teapot and cup. I did have a link for this but just checked it and the link now goes to something else. If you google tea pot colouring in it comes up.


Tuesday, March 4, 2014

Free motion Embroidery Butterfly

So after my owl yesterday which can be seen HERE I thought I would have another go. I am no good at drawing, so designing anything filled me with fear. I decided to have a look for an easy pattern to follow on the internet. I found this children's colouring page HERE. It was easy to cut out and a good design for me to continuing practicing.


Monday, March 3, 2014

My First go at Free Motion Machine Embroidery

This is my first ever go at free motion machine embroidery. This is a very new concept for me, I have only just realised that this is even possible. I bought a free motion foot for my machine and did a bit of research in to it. I made my first ever free motion machine quilt the other day. It can be seen HERE
I really enjoyed doing this and fancied having another go with the foot so I came up with this. I have a way to go, the only way I can describe it is like drawing but moving the paper instead of the pencil.


Saturday, March 1, 2014

My first attempt at free motion quilting

So I have been rather busy! Over the half term I wanted to have a go at something I had never tried before so I opted for quilting. I have to say I have found it throughly enjoyable. I have only made two small cot sized quilts at the moment. The thought of anything larger seems a little to daunting at this point. I opted for a jelly roll, and I have managed to make two small quilts out of one roll. The one I am sharing today was the simpler of the two to make. The quilting was the harder of the two.


Saturday, February 15, 2014

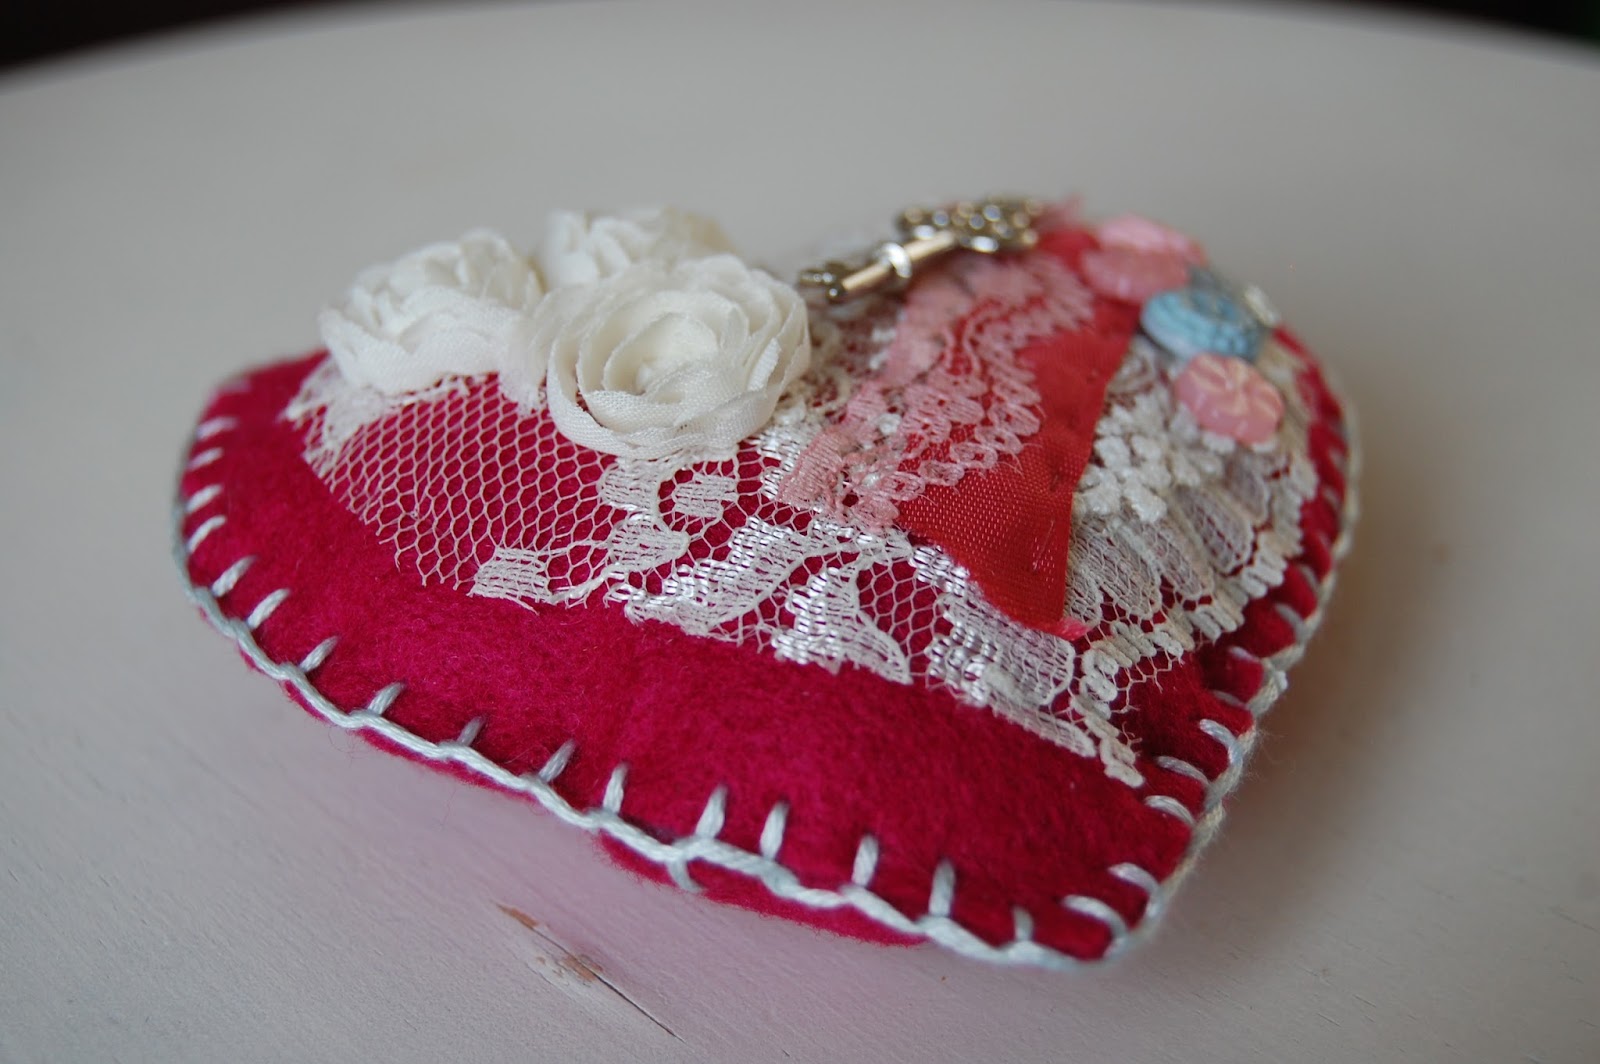
Valentines hearts for my family

I decided to make valentines presents for my husband and children this year. I have only taken pictures of two of them because my daughter has put hers somewhere and I can't find it. I think the children would have preferred chocolate! They were not the easiest thing to make because I had to sew all the embellishments on with clear thread. Threading a needle is bad enough when you can see the thread!


Saturday, February 8, 2014

Fabric Valentines Hearts

These hearts were so easy to make. Sew a heart shape and put in a bit of stuffing. I liked the look of the raw edges so they were so quick to make. The only thing that took a bit of time was the decoration in the centre. 


Saturday, January 25, 2014

Reupholstered chairs

The finished chairs, please read on for the full story!!!


Coming to our house is a hazardous affair. We have had the same table and chairs for a number of years. The table is still in working order, all be it rather dirty. However, sitting on a chair is like playing Russian Roulette. On one particular day a rather unfortunate guest picked the wrong chair!


It was in a state of complete disrepair and ended up on the fire. The guest was fine apart from a rather sore bottom.

I have now decided to make it my mission to replace all the chairs, I have gone down the road of having mixed chairs, I am not sure if it is the right choice yet. We were in Midhurst the other day and I saw two old chairs for only five pounds each in a charity shop, the mission began!!

I also have a chair coming from my Mum and Dad, so that makes three, only another three to go!!


I chose this Cath Kidston fabric for these two, I think the others (when I have got them) are going to be covered in different plain colours to complement this fabric.


All I needed was a staple gun and some fabric protector


These were the chairs before covering

I roughly drew around the chair pad and cut out the fabric and then ironed


I love how this photo shows all the small holes from previous owners, I think these chairs have been covered many times during their life time.


I am pleased with the way they have turned out. I am in two minds to paint them white. What do you think?


Monday, January 20, 2014

Oil Cloth box tutorial


This super simple box is so useful for storing anything you wish in.


HOW TO DO IT

Cut the following from oil cloth

Two 5” by 5” squares
Four 6” by 5” rectangles
Four 7” by 5” rectangles

On the 5" by 5"  squares (the bases) draw a square in the centre that measures 4” by 4”, this will act as your sewing guide.


You will now need to sew the sides onto the square base, be sure to use the sewing guide. Each time you sew on a side flatten out.


Next you will need to sew the sides together.


Trim sides and bottom, this will help with the shaping of the box

You will need to do this for both the rectangles. The 6” by 5” box will need to be turned through, it is worth spending a bit of time ensuring this is done well and the corners are poked out, it will help with the shaping of the box.


And finally place the two parts together and you are done

Turn over the top


You may have noticed that I have sewn the top of some of my boxes, after making a few I have realised that I don't need to do this, as the oil cloth holds its shape so well. I think it looks so much neater.


Saturday, January 18, 2014

I love charity shops!!!

I 'did' the charity shops in Midhurst today. I am  sure there must be a word to describe going shopping in charity shops. I think in America you call it thrifting.

These little candles were just 49 pence each, I love candles and tend to get through a lot, so finding cheap ones that smell and look great was a complete result.
I can not take credit for the pink crochet doily under the candles, that was another charity shop find a while back. I love charity shops!!
 I have a larger project to share sometime next week, it involved my husband and myself walking back to the house with two dining room chairs, much to the embarrassment of our children.


Friday, January 17, 2014

Minecraft Models

Whilst sitting planning my maths for the following week my eyes absently minded found themselves staring at my children playing minecraft. I thought to myself if only children could be that into maths I would be onto a winner. It was then I knew how I was going to ensure each and every child in my class were on task for the whole week!!!!


The ideas just seemed to creep into my mind

 They herded themselves into a corner
And marched right in


 Then they were all gathered together ready to go....


It was a weeks worth of ideas teaching volume through the medium of Minecraft, with the final outcome being a paper model that they make and take home. Needless to say it went down very well!

If you want to have a go at making the models the printables are available online ...

The creeper an be found here
The pig can be found here
Steve can be found here